Francisco Javier Cruces Doval
Saturday, October 28, 2023 | 5 minutes
WordPress installation in Debian 12 with PHP-8 LEMP battery
#WordPress installation in Debian 12 with PHP-8 LEMP battery
WordPress is a very popular open source content management system (CMS) that is used to create and manage websites and blogs. It was first released in 2003 and has since won a wide user base and an active community of developers and designers.
Previous requirements
- Linux server: You must have a server that runs Linux, the guide is designed for Debian 12.
- User with superuser permissions: You must have access to a user with sudo privileges on the server in order to perform the installation and configuration tasks.
- Full Domain Name (FQDN): If you want to access your WordPress site through a custom domain, make sure you have a full domain name (FQDN) set up and pointed to the server.
- Internet access: You need Internet access to download packages and make updates during the installation process.
Make sure you meet all these requirements before you start installing WordPress on your server.
If you do not have the LEMP battery, you can follow it in this link.
Creating a VirtualHost in Nginx
The creation of a VirtualHost in Nginx allows you to configure multiple websites on a single server. Follow these steps to create a VirtualHost in Nginx.
Copy the default Nginx configuration file to use as an example and name it as you like. In this example, we will name it “wordpress,” as we will install it however the name is merely informative.
javiercruces@IWEB:~$ sudo cp /etc/nginx/sites-available/default /etc/nginx/sites-available/wordpress
We will edit the content of it, for this purpose:
javiercruces@IWEB:~$ sudo nano /etc/nginx/sites-available/wordpress
Here I leave the example of my site configuration file, make sure you define the server name (your domain) and the site root directory.
server {
    listen 80;
    root /var/www/wordpress;  # Cambia esta linea por la ubicación del directorio root de tu wordpress
    index  index.php index.html index.htm;
    server_name  wordpress.fjcd.es; # Cambia esta linea y pon el FQDN , a traves de este accederás a tu wordpress

    client_max_body_size 500M;

    location / {
        try_files $uri $uri/ /index.php?$args;
    }

    location = /favicon.ico {
        log_not_found off;
        access_log off;
    }

    location ~* \.(js|css|png|jpg|jpeg|gif|ico)$ {
        expires max;
        log_not_found off;
    }

    location = /robots.txt {
        allow all;
        log_not_found off;
        access_log off;
    }

    location ~ \.php$ {
         include snippets/fastcgi-php.conf;
         fastcgi_pass 127.0.0.1:9000;
         fastcgi_param SCRIPT_FILENAME $document_root$fastcgi_script_name;
         include fastcgi_params;
    }
}
To make this configuration active we will create a symbolic link
javiercruces@IWEB:~$ sudo ln -s /etc/nginx/sites-available/wordpress /etc/nginx/sites-enabled/
Now let’s restart nginx, so that the changes are applied:
javiercruces@IWEB:~$ sudo systemctl reload nginx
To access this VirtualHost, in the machine where you go to access the wordpress, by having no dns server remember to put in the host file the ip of your server with the Server:
javiercruces@HPOMEN15:~$ cat /etc/hosts
#Añade la IP de tu servidor y el ServerName correspondiente (wordpress.fjcd.es)
#Ponlo al final del fichero y no modifiques las lineas existentes en tu fichero
192.168.125.27 wordpress.fjcd.es
Creating the database with a user.
I recommend that you point the data entered below as you need them later. We connect to the database:
javiercruces@IWEB:~$ sudo mysql -u root -p
Enter password:
Welcome to the MariaDB monitor.  Commands end with ; or \g.
Your MariaDB connection id is 31
Server version: 10.11.4-MariaDB-1~deb12u1 Debian 12

Copyright (c) 2000, 2018, Oracle, MariaDB Corporation Ab and others.

Type 'help;' or '\h' for help. Type '\c' to clear the current input statement.
#Creamos una base de datos :
MariaDB [(none)]> CREATE DATABASE fjcd_wordpress;
Query OK, 1 row affected (0,001 sec)

#Nos creamos el usuario para nuestra base de datos
MariaDB [(none)]> CREATE USER 'fjcd-wordpress'@'localhost' IDENTIFIED BY 'tu_contraseña';
Query OK, 0 rows affected (0,013 sec)

#Le damos permisos sobre la base de datos que hemos creado:
MariaDB [(none)]> GRANT ALL PRIVILEGES ON fjcd_wordpress.* TO 'fjcd-wordpress'@'localhost';
Query OK, 0 rows affected (0,010 sec)

#Actualizamos los permisos:
MariaDB [(none)]> FLUSH PRIVILEGES;
Query OK, 0 rows affected (0,000 sec)

#Nos salimos de la CLI de mysql
MariaDB [(none)]> EXIT;
Bye
WordPress installation
The first thing we will do is download WordPress, we can do it using wget or if we have it downloaded to our host pass it by using SCP or FTP.
javiercruces@IWEB:~$ wget https://wordpress.org/latest.tar.gz
--2023-10-27 12:33:17--  https://wordpress.org/latest.tar.gz
Resolviendo wordpress.org (wordpress.org)... 198.143.164.252
Conectando con wordpress.org (wordpress.org)[198.143.164.252]:443... conectado.
Petición HTTP enviada, esperando respuesta... 200 OK
Longitud: 23465047 (22M) [application/octet-stream]
Grabando a: «latest.tar.gz»

latest.tar.gz             100%[=====================================>]  22,38M  14,8MB/s    en 1,5s

2023-10-27 12:33:19 (14,8 MB/s) - «latest.tar.gz» guardado [23465047/23465047]
And we’ll uncompress the file and copy the files within the ‘DocumentRoot’ of our ‘VirtualHost’:
javiercruces@IWEB:~$ sudo mkdir   /var/www/wordpress/
javiercruces@IWEB:~$ sudo tar -zxf latest.tar.gz -C /var/www/
We enter the * * WordPress * * route to make the permit scheme correctly:
javiercruces@IWEB:~$ cd /var/www/
We change user and groups:
javiercruces@IWEB:/var/www$ sudo chown -R www-data:www-data wordpress/
And we put the right permissions to WordPress:
find . -type d -exec chmod 755 {} \;
find . -type f -exec chmod 644 {} \;
Once we have set all this up, we can now access our browser to our domain to start installing WordPress.
Web installation
We access the url we have put in the ServerName of our virtual site and then set up in the hosts file.
The first thing is to select the language:
!! Untitled
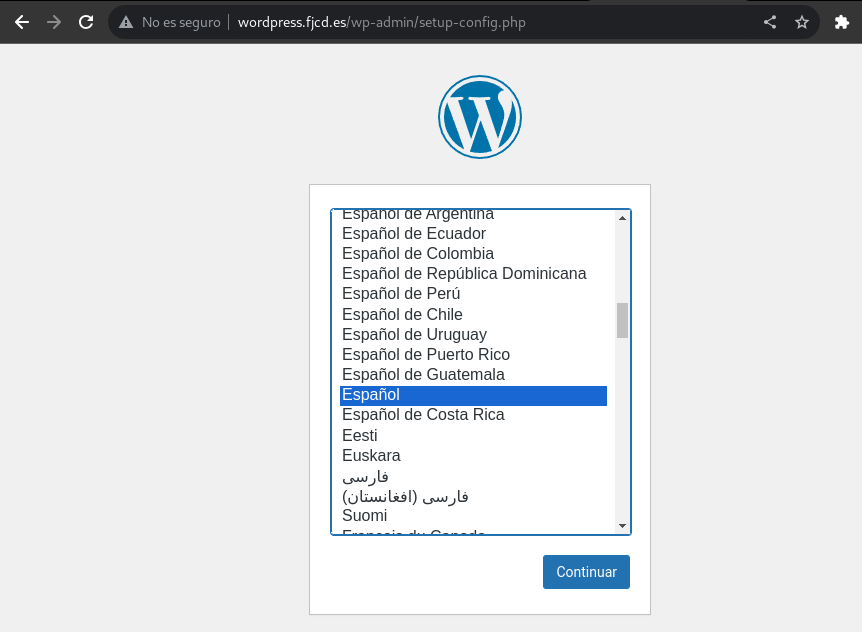
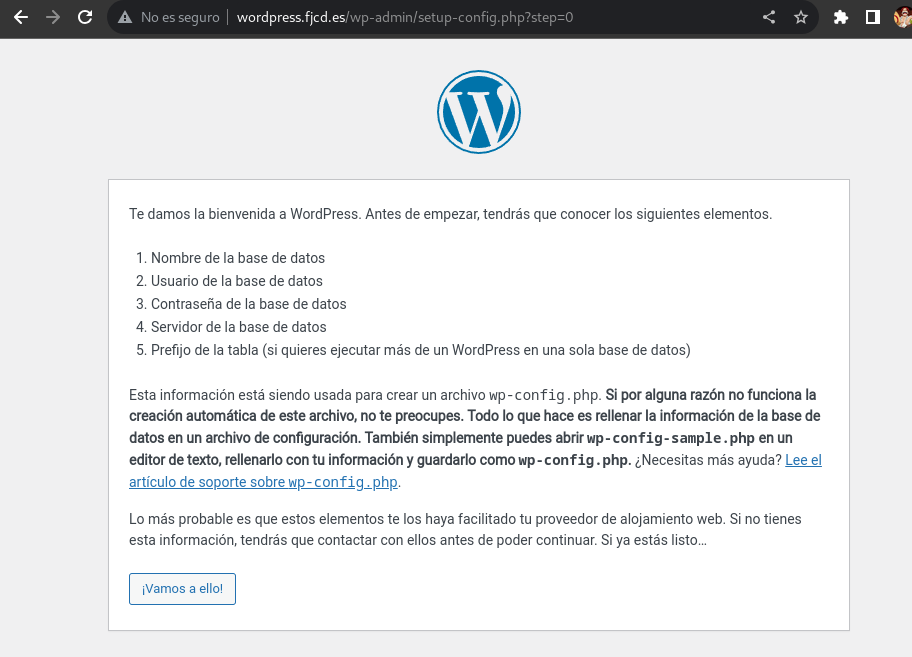
Below is a brief explanation of what the CMS WordPress is:
You will now need to enter the user data and the name of the database you have created before.
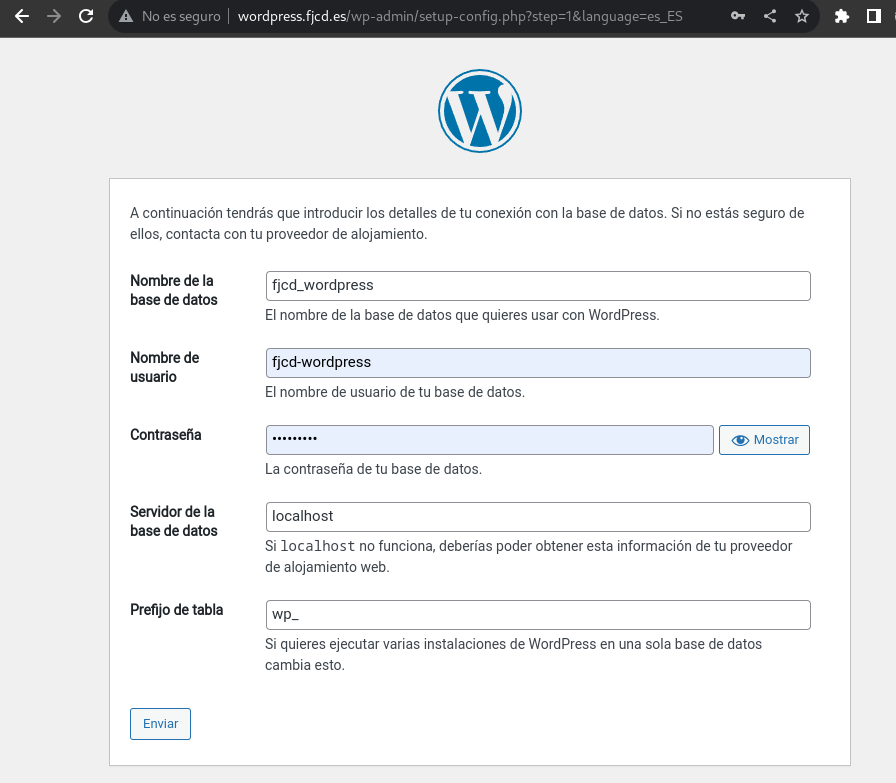
Once the correct data is entered we will continue with the installation:
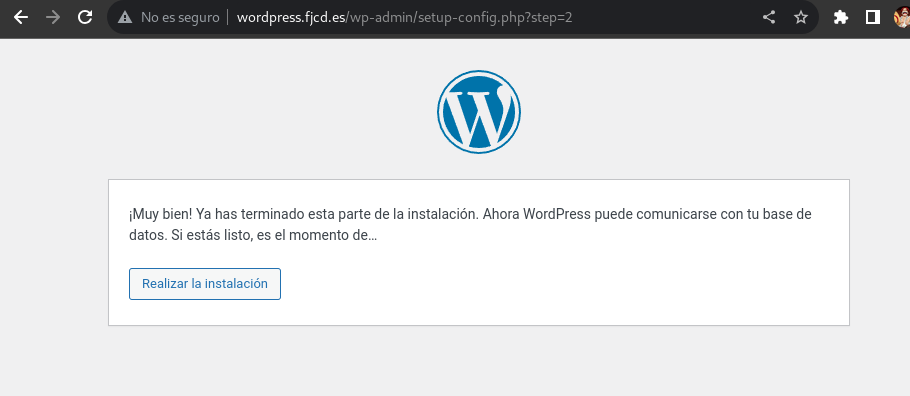
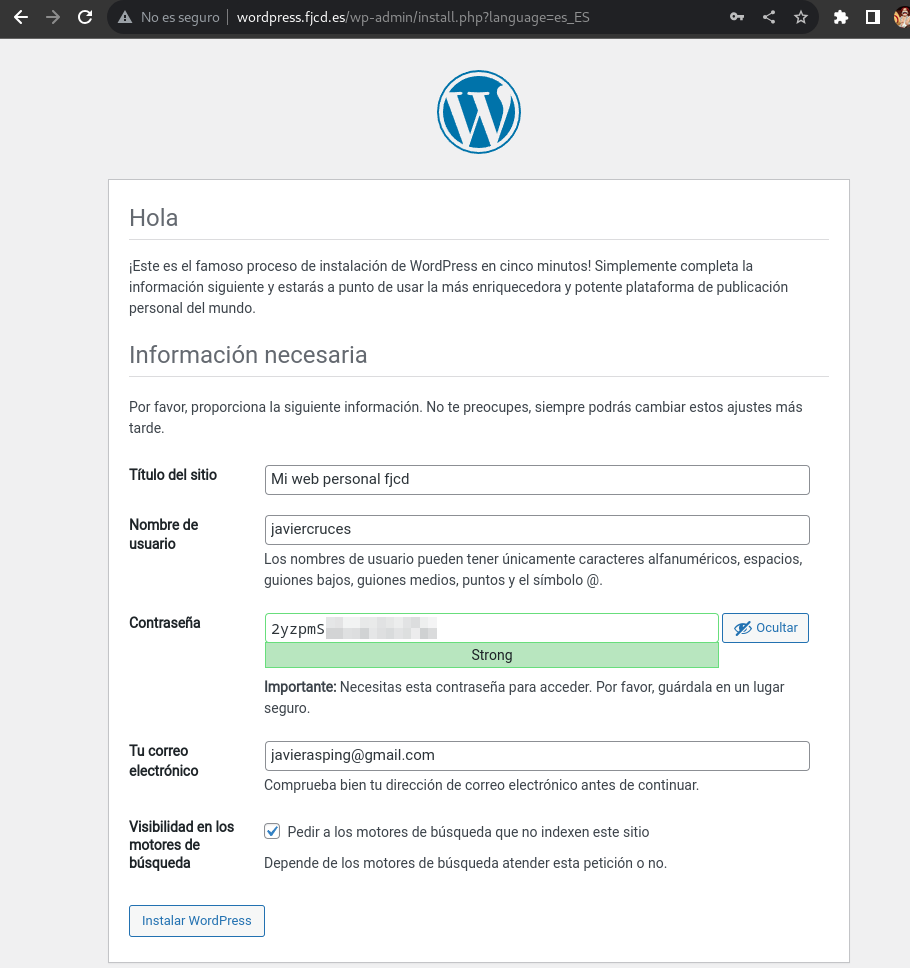
Now you must enter the data for your wordpress, such as the name of the site as well as the creation of an administrator user so that you can then access wp-admin:
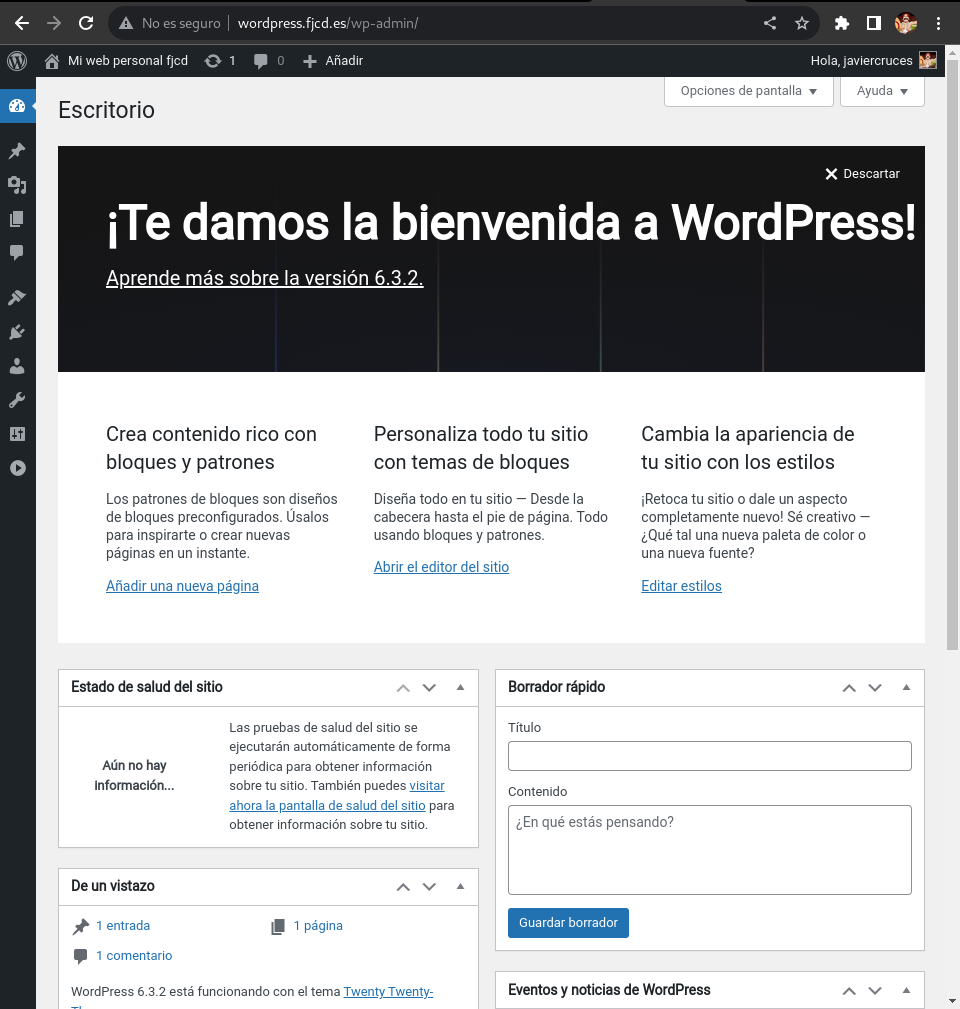
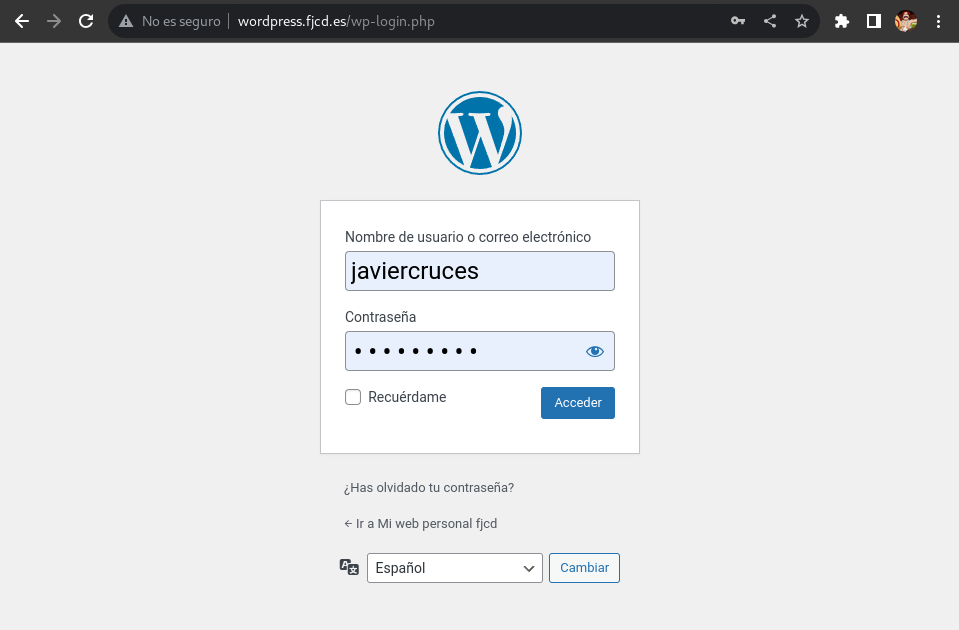
Ready! You’ve already installed wordpress

Now to access the wordpress management panel you must enter the following url into your browser and log in with the user you have created:
Ready! This is how you see the wardpress management panel: