Francisco Javier Cruces Doval
Saturday, October 28, 2023 | 5 minutes
WordPress installation in Debian 12 with LAMP PHP-8
WordPress installation in Debian 12 with LAMP PHP-8 battery
WordPress is a very popular open source content management system (CMS) that is used to create and manage websites and blogs. It was first released in 2003 and has since won a wide user base and an active community of developers and designers.
Preparation
Before we start installing WordPress, we will make clear in a list what the ecosystem of our server is so everything works out properly:
- Full LAMP server: Apache + MySQL (or MariaDB) and PHP 8.x.
- Set up a VirtualHost for our domain.
- Develop the database with a user.
If you don’t have the LAMP stack installed, you can do it in this link.
Creation of VirtualHost
We copy Apache’s default configuration file and rename it to wordpress.conf.
javiercruces@IWEB:/etc/apache2/sites-available$ sudo cp 000-default.conf wordpress.conf
We set the virtual site, remember to change the ServerName and DocumentRoot.
<VirtualHost *:80>
    # The ServerName directive sets the request scheme, hostname and port that
    # the server uses to identify itself. This is used when creating
    # redirection URLs. In the context of virtual hosts, the ServerName
    # specifies what hostname must appear in the request's Host: header to
    # match this virtual host. For the default virtual host (this file) this
    # value is not decisive as it is used as a last resort host regardless.
    # However, you must set it for any further virtual host explicitly.
    ServerName wordpress.fjcd.es

    ServerAdmin webmaster@localhost
    DocumentRoot /var/www/wordpress

    # Available loglevels: trace8, ..., trace1, debug, info, notice, warn,
    # error, crit, alert, emerg.
    # It is also possible to configure the loglevel for particular
    # modules, e.g.
    # LogLevel info ssl:warn

    ErrorLog ${APACHE_LOG_DIR}/error.log
    CustomLog ${APACHE_LOG_DIR}/access.log combined

    # For most configuration files from conf-available/, which are
    # enabled or disabled at a global level, it is possible to
    # include a line for only one particular virtual host. For example, the
    # following line enables the CGI configuration for this host only
    # after it has been globally disabled with "a2disconf".
    # Include conf-available/serve-cgi-bin.conf
</VirtualHost>
Enable the virtual site wordpress.conf.
javiercruces@IWEB:/etc/apache2/sites-available$ sudo a2ensite wordpress.conf
Enabling site wordpress.
To activate the new configuration, you need to run:
  systemctl reload apache2
Reload Apache to apply the new configuration.
javiercruces@IWEB:/etc/apache2/sites-available$ sudo systemctl reload apache2
To access this VirtualHost, on the machine where you want to access WordPress, as there is no DNS server, remember to add the IP of your server and the ServerName to the hosts file.
javiercruces@HPOMEN15:~$ cat /etc/hosts
# Añade la IP de tu servidor y el ServerName correspondiente (wordpress.fjcd.es)
# Ponlo al final del fichero y no modifiques las líneas existentes en tu fichero
192.168.125.27 wordpress.fjcd.es
Creating the database with a user
I recommend that you note the data entered below as you will need them later.
We connect to the database:
javiercruces@IWEB:~$ sudo mysql -u root -p
Enter password:
Welcome to the MariaDB monitor.  Commands end with ; or \g.
Your MariaDB connection id is 31
Server version: 10.11.4-MariaDB-1~deb12u1 Debian 12

Copyright (c) 2000, 2018, Oracle, MariaDB Corporation Ab and others.

Type 'help;' or '\h' for help. Type '\c' to clear the current input statement.
Create a database:
MariaDB [(none)]> CREATE DATABASE fjcd_wordpress;
Query OK, 1 row affected (0.001 sec)
Create the user for the database:
MariaDB [(none)]> CREATE USER 'fjcd-wordpress'@'localhost' IDENTIFIED BY 'tu_contraseña';
Query OK, 0 rows affected (0.013 sec)
Grant privileges on the database:
MariaDB [(none)]> GRANT ALL PRIVILEGES ON fjcd_wordpress.* TO 'fjcd-wordpress'@'localhost';
Query OK, 0 rows affected (0.010 sec)
Update the privileges:
MariaDB [(none)]> FLUSH PRIVILEGES;
Query OK, 0 rows affected (0.000 sec)
Exit MySQL:
MariaDB [(none)]> EXIT;
Bye
WordPress installation
The first thing we will do is download WordPress. We can do this using wget, or if we have it downloaded to our host, we can transfer it using SCP or FTP.
javiercruces@IWEB:~$ wget https://wordpress.org/latest.tar.gz
--2023-10-27 12:33:17--  https://wordpress.org/latest.tar.gz
Resolviendo wordpress.org (wordpress.org)... 198.143.164.252
Conectando con wordpress.org (wordpress.org)[198.143.164.252]:443... conectado.
Petición HTTP enviada, esperando respuesta... 200 OK
Longitud: 23465047 (22M) [application/octet-stream]
Grabando a: «latest.tar.gz»

latest.tar.gz             100%[=====================================>]  22,38M  14,8MB/s    en 1,5s

2023-10-27 12:33:19 (14,8 MB/s) - «latest.tar.gz» guardado [23465047/23465047]
Then, we’ll uncompress the file and copy the files into the DocumentRoot of our VirtualHost:
javiercruces@IWEB:~$ sudo mkdir /var/www/wordpress/
javiercruces@IWEB:~$ sudo tar -zxf latest.tar.gz -C /var/www/
We navigate to the WordPress directory to set the correct permissions:
javiercruces@IWEB:~$ cd /var/www/
Change the user and group:
javiercruces@IWEB:/var/www$ sudo chown -R www-data:www-data wordpress/
Once all this is set up, we can now access our browser and go to our domain to start installing WordPress.
Web installation
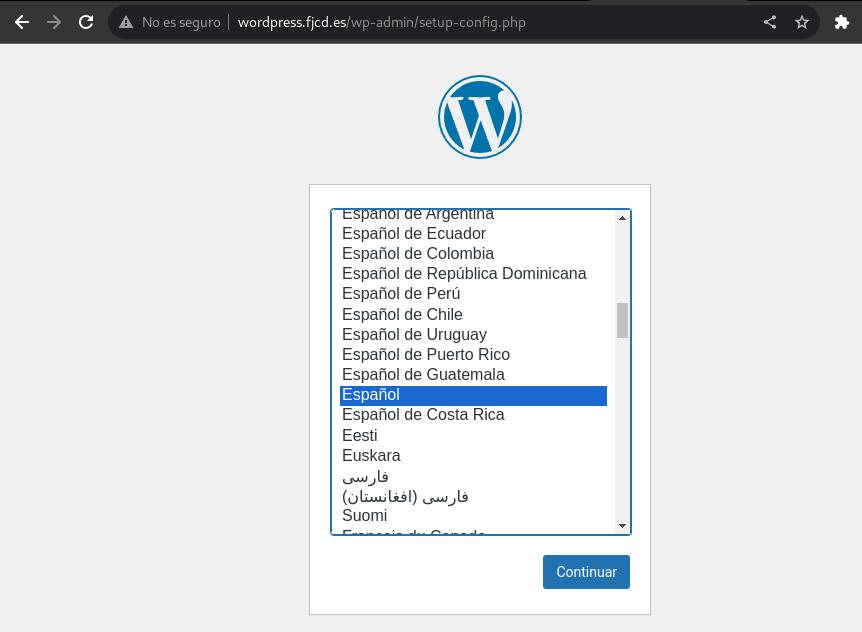
We access the URL we have set in the ServerName of our virtual site and also set in the hosts file.
The first thing is to select the language:
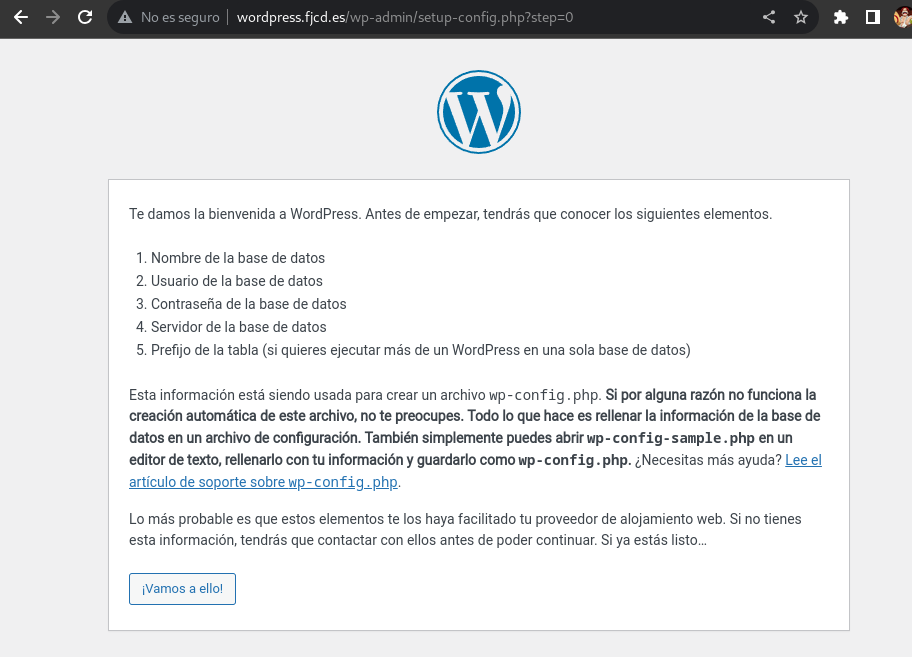
Below is a brief explanation of what the CMS WordPress is:
You will now need to enter the user data and the name of the database you created earlier:
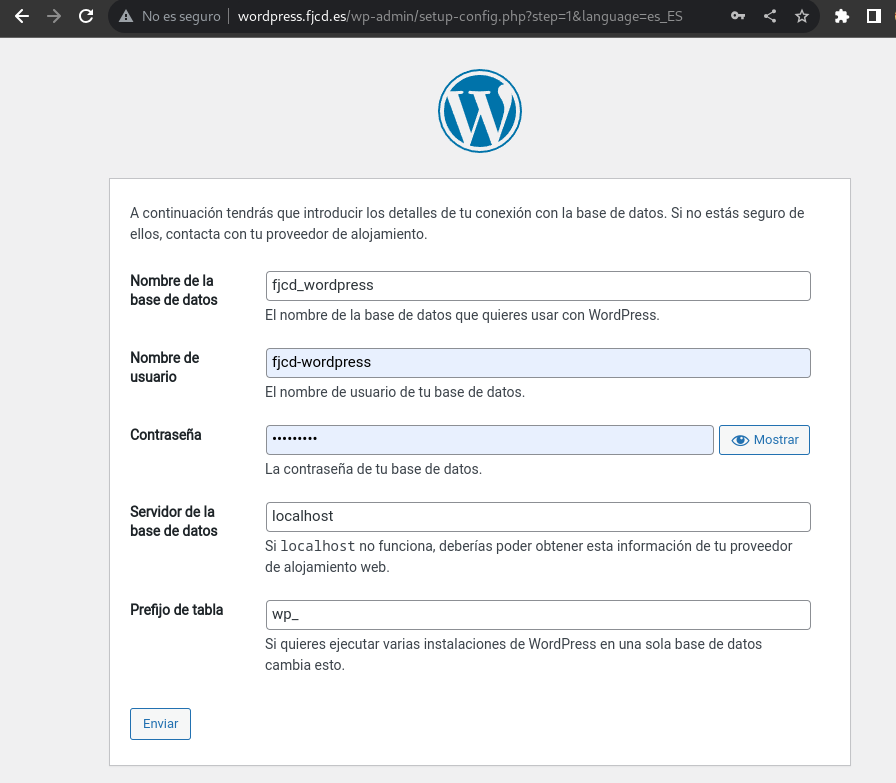
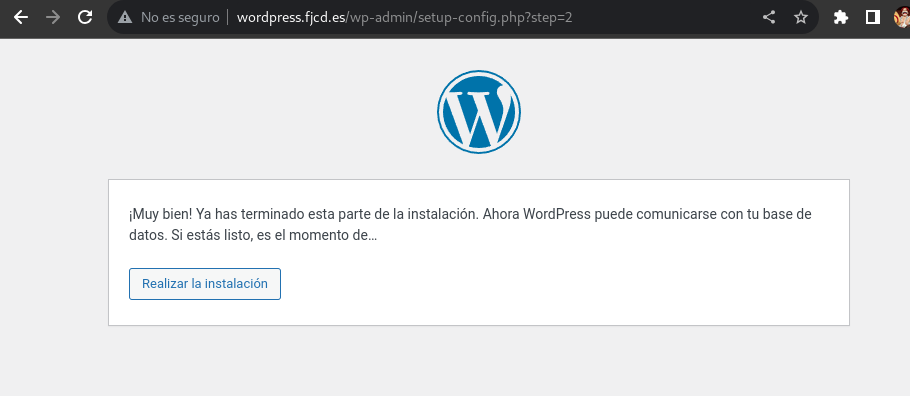
Once the correct data is entered, we will continue with the installation:
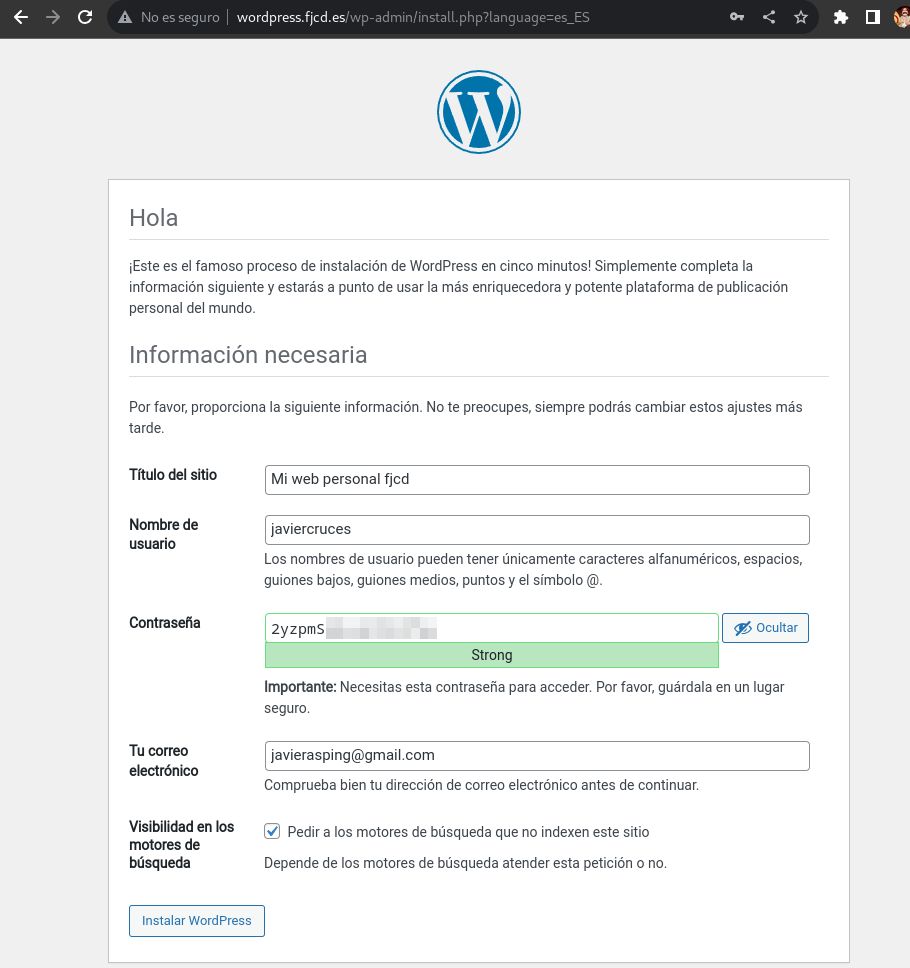
Now you must enter the data for your WordPress site, such as the site name and the creation of an administrator user so that you can later access wp-admin:
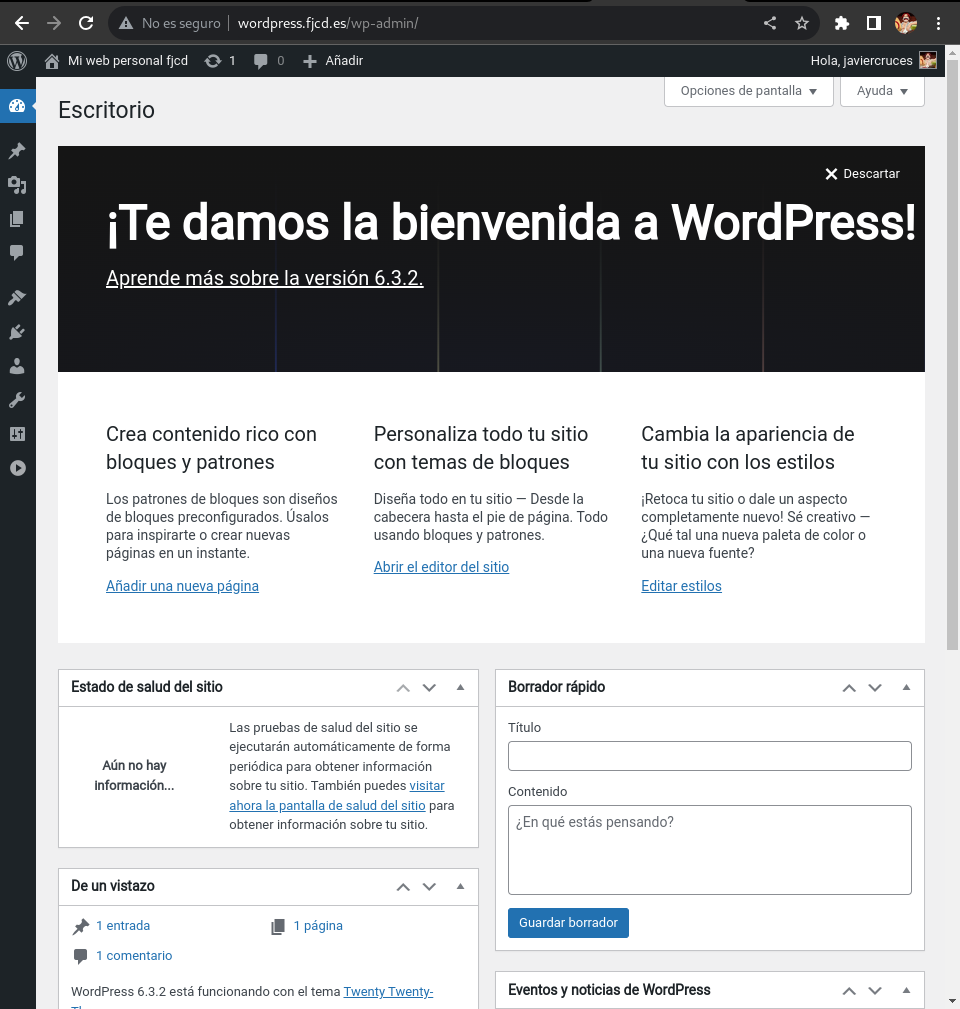
Ready! You’ve already installed WordPress.
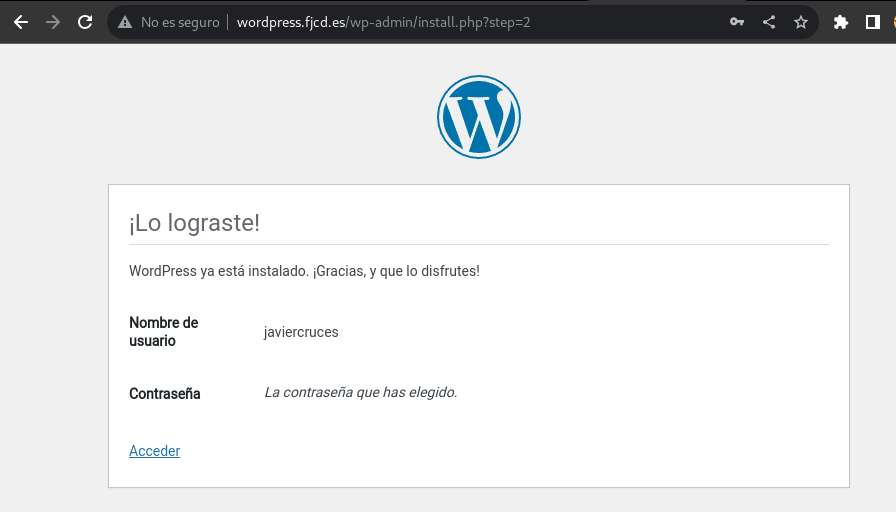
Now, to access the WordPress management panel, you must enter the following URL into your browser and log in with the user you created:

Ready! This is how you see the WordPress management panel: